Intro to Drawing Basics
What are we gonna do in this course?
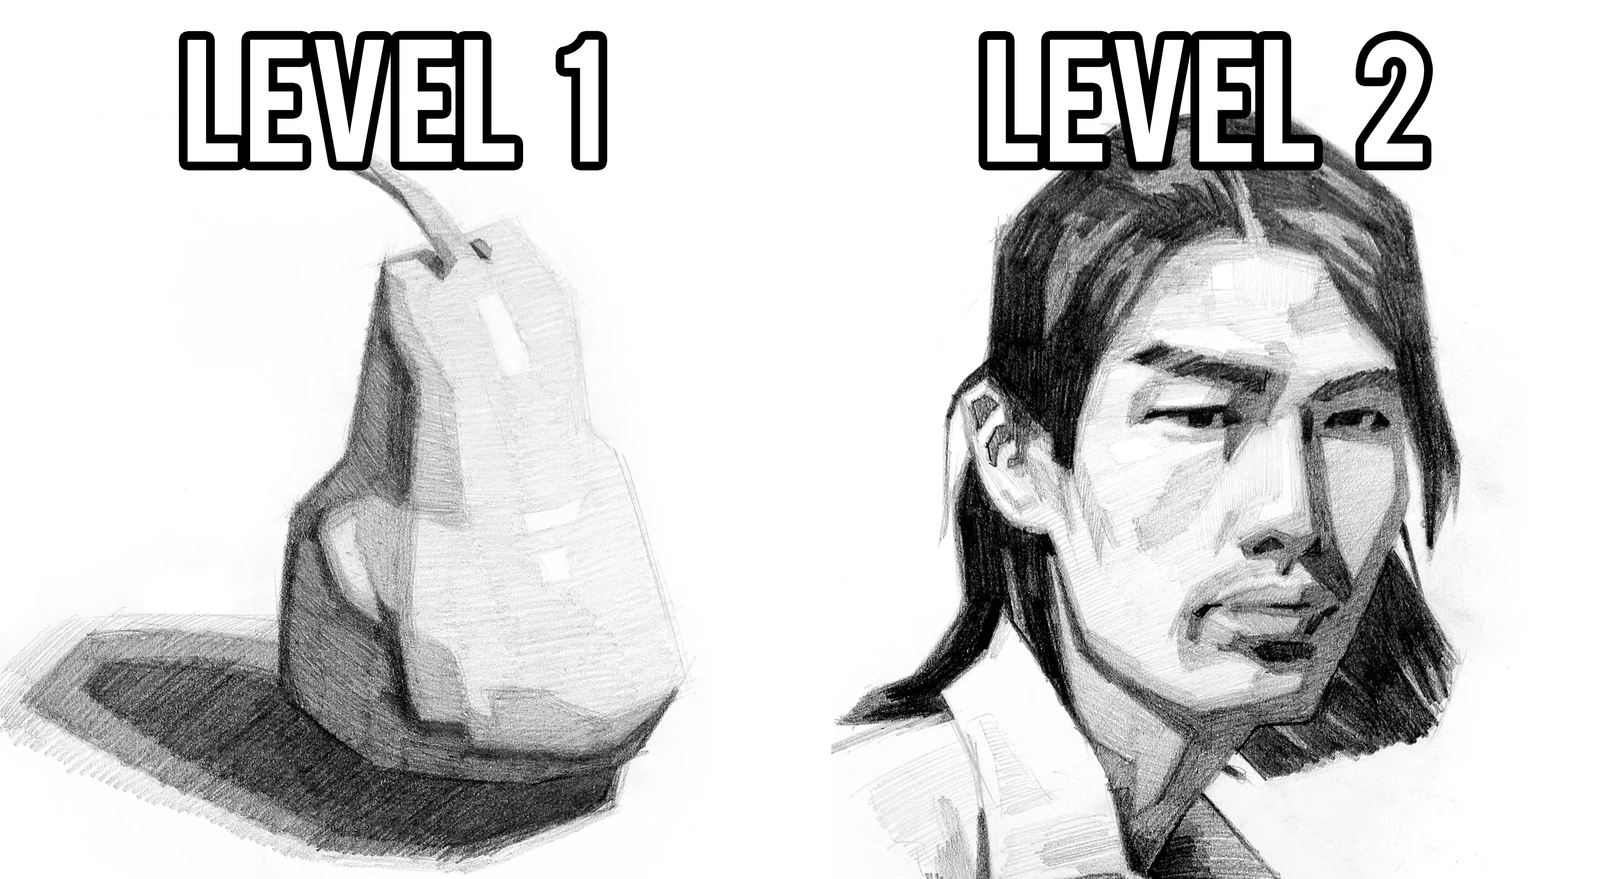
Our first project will be drawing a simplified pear or portrait from observation. It seems very simple, but I promise, you will be challenged.
Most projects in this course will have 2 levels. One for those of you who are just starting your journey of learning how to draw and another more challenging project for you intermediate students who are here to polish your fundamental skills. So, you level 2’s won’t be drawing a pear. Oh no.. you’ll be busting into this course by drawing this portrait!
When we’re done with this little assessment project, we’re gonna reel it back a bit and start the first major category of lessons: Line
The course will have 5 major categories (These are the key concepts you need to understand to draw and sketch 3 dimensionally)
- Line
- Shape
- Perspective
- Value
- Edge
Exercice of the day
(to first his exercise will help you avoid chicken scratch. Instead of uncertain pecking at the paper, we’re going to draw each line with a focused and intentional path. Remember to draw from your shoulder, elbow, and wrist. Avoid the fingers!
Understanding CSI: C curves, S Curves, and Straight Lines
When I tell you guys to simplify your lines, I’m usually referring to 3 types of lines. Two curves and 1 straight. We can remember this as CSI.
“C” stands for C curves
“S” stands for S curves
“I” represents straight lines.
Combining these three kinds of lines can help you construct all kinds of interesting shapes that read clearly… even from a distance. What we want to avoid is drawing with lines that are shakey, scratchy and lack confidence.
Shape vs. Contour
We’re starting to think of Shape a bit, because when you simplify the contour lines, you inevitably simplify the shape that those lines represent. But a big difference is that when we simplify a shape, we consider the whole shape. For this exercise, we will just consider individual segments of the contour of a shape. It’s a bit more tunnel-visioned. We’re just thinking of lines and the relationship of those lines to the other lines around it.
It’s really difficult to draw a complex or organic line accurately with a single stroke. There are too many parts to it. Much more approachable to break it up into smaller parts.
We already did this in the last project, but we used only straight lines. This time, we can make our lines a bit more complex by introducing the C curve and S curve. Both of which are still very simple.
CSI vs. Only Straights
What’s the difference between using “CSI” vs just straights like we did with the pear and portrait project? If I had to give a simple answer, and put them in two buckets, I see the two use cases being accuracy for straight lines and expression with the addition of the curves.
If you’re drawing from observation and trying to transfer the shapes and proportions as accurately as possible using only straights is very effective. Because it’s easy for our brain to control the length, placement and angle of a straight line.
It’s harder with curves. But, if you’re sketching and your intention is to capture the impression of something quickly, and you want to include gesture and motion in that impression, “C” and “C” curves are very helpful. This is true whether you’re drawing gestures from observation or sketching from imagination.
“C” and “S” curves can capture motion. Straights are more suited for structure. So the combination of the 2 allows you to quickly differentiate between the two with shorthand line types.
The interesting thing is that for beginners, even the quick expressive approach might need to start kind of slow. You still want to push back on a desire for perfectionism, but you need to allow your brain time to process what you’re seeing. You don’t have the muscle memory and the training that allows your subconscious to make decisions for you. So, a beginner artist should sketch slower than a seasoned one.
In this project, we’re going to practice the slightly quicker expressive approach, using “CSI”. Your pace should be quick, but not rushed. This is an exercise in mindset as much as it is an exercise in lines.
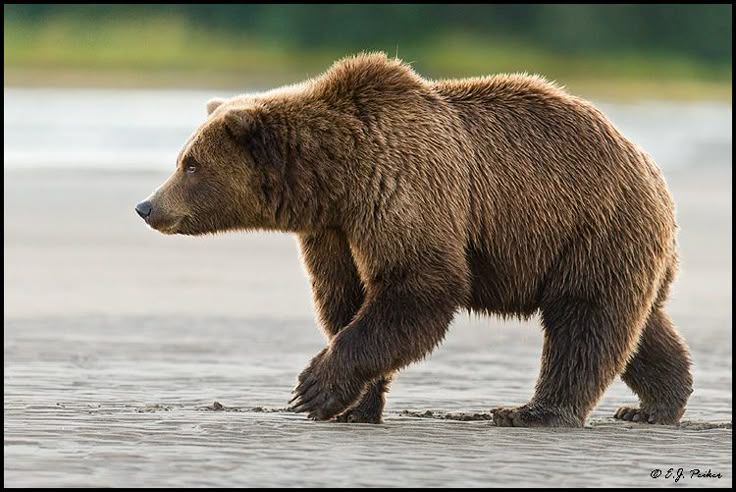
I’ve provided several photos below. Download the photo references, and try to solve them on your own. Same instructions for level 1 (the first two photos) and 2, just a difference in difficulty of reference. The level 2 photos have more fun little tidbits to tempt you to get into the details. Fight the urge and simplify.
Also, no shading with these please. Good luck!



Get in Touch By Phone Or email
We use whatapp or classic email.
Phone
contact@atelierbiscuit.art